Whether you’re new to climbing or looking for a way to save a bit of money on your go-to equipment, learning how to make rock climbing chalk at home is easy and can save you lots of money in the long run.
In this guide, I’ll show take you through the process of making your own liquid climbing chalk at home.
What Is Rock Climbing Chalk?
If you’re pretty new to rock climbing you have probably seen climbing chalk, but don’t really know what it is or why you need it.
In simple terms, rock climbing chalk is made from magnesium carbonate, although some brands will add other chemicals to the chalk to give it a different texture or consistency. This is the same white powder that you will see being applied by weightlifters, gymnasts and other athletes.
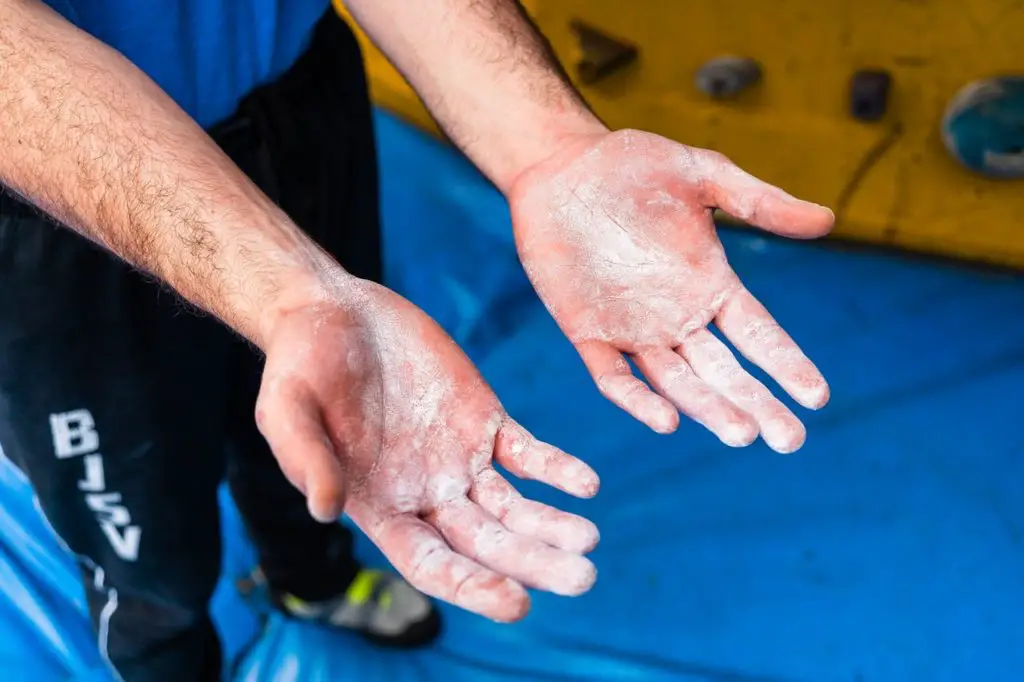
The reason for using this chalk is to improve your grip and friction against the climbing surface. As your hands begin to sweat during your climb, you will find it harder to grip onto the rock or wall. Chalk is insoluble in water and as a result, it will dry the sweat from your hands when applied. As your hands are no longer wet with sweat, you have an improved grip on the rock.
What Are The Different Types Of Climbing Chalk?
There are 4 main types of chalk that you can use for climbing: gymnast chalk blocks, powdered chalk, chalk balls and liquid chalk.


Liquid Chalk vs. Dry Chalk
In this guide, you will be learning how to make liquid chalk. Before diving into the process of how to make it, it is important that you understand the differences between the two.
Advantages of Liquid Chalk
- Liquid chalk is much more efficient than dry chalk – dry chalk sticks to your fingers better than dry chalk as it is using rubbing alcohol as the base. Many clmbers find that they only need to apply chalk once at the start of their session and don’t need to keep reapplying mid-climb. If you do need to reapply during your climb, it acts as a good base layer for adding more chalk, meaning you use less of that with each application.
- You don’t have to bring as much chalk with you – not only does this mean you can pack lighter for your trip, you also won’t end up with all your gear covered in chalk!
- Less time chalking your hands when you’re climbing – As liquid chalk can last for your full session, you won’t need to stop mid-climb to add chalk to your hands.
- It’s great for when the weather is hot and humid – Liquid chalk will reduce the amount of sweat on your hands, which can be a real problem in hot climbing conditions.
- Reduces the amount of marks left on the wall – Leaving chalk marks all over the way is not only bad for the environment, but it is also annoying for other climbers who want to work out a route for themselves and can see which way you have climbed.
- Can be used where climbing chalk is banned – Some climbing centres and gyms don’t want big clouds of chalk lingering in the air or marks all over the equipment. Liquid chalk is great for these conditions as there is far less chalk left behind when climbing.
Advantages of Dry Chalk
- Easy to reapply when on the wall – If you do need to reapply your chalk when climbing, applying dry chalk is just a matter of dipping your hands into your bag. With liquid chalk, you need both hands to apply this effectively, which is usually difficult to do when climbing.
- Better for those with sensitive skin – If you have particularly dry hands, the alcohol in liquid chalk can make this worse. Dry chalk is better for those with sensitive skin.
How To Make Your Own Climbing Chalk
When making climbing chalk at home, I’m talking about making your own liquid chalk. Here is the process for doing this below:
What you will need
Below is a table of all the items you will need to make your own liquid chalk:
Item | Link |
Magnesium Carbonate (Climbing Chalk) | |
Rubbing Alcohol (Isopropyl Alcohol) | |
Measuring Cup | |
Bowl | |
Mixing Spoon or Spatula | |
Air Tight Bottle |
Step 1 – Measure Out You Chalk
Using your measuring cup, measure out the amount of Magnesium Carbonate you will be using and add this to your mixing bowl.
Try to work to a rounded number of cups (so no half cups) as this will make it easier to get the right balance between your chalk and your alcohol.
If your magnesium carbonate is in a block, you might need to grind this down first using a pestle and mortar to get it fine enough for adding to your mixture. If you have already bought it in powder form, you can add this straight to your bowl.
Step 2 – Add You Rubbing Alcohol
The next step is to measure out and add your rubbing alcohol.
To get the right mixture, you will be working to a ratio of 2 parts chalk to 1 part alcohol (2:1). This means that for every 2 cups of magnesium carbonate you have used, add 1 cup of rubbing alcohol.
Add the rubbing alcohol straight into the bowl with the magnesium carbonate.
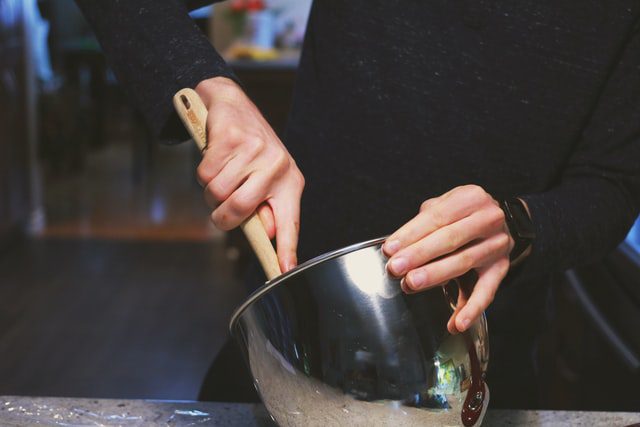
Step 3 – Give It A Good Mix
Take your mixing spoon/spatula and give the mixture a good stir. You will need to do this until the mixture is fully combined.
You will know that the mixture is combined when you can’t see lumps of chalk anymore and the texture is similar to that of yoghurt.
Step 4 – Store The Mixture
Now you have mixed your liquid chalk it is time to store it.
As it contains rubbing alcohol, you will need to ensure that you store this in an air-tight container. You can decant your mixture into your air-tight bottle at this point for taking with you on your next climbing trip.
If you have spare bottles once you decant the mixture, make sure to store these in a cool, dry place out of direct sunlight. This will stop the mixture from drying up when being stored.
Step 5 – Go And Get Climbing
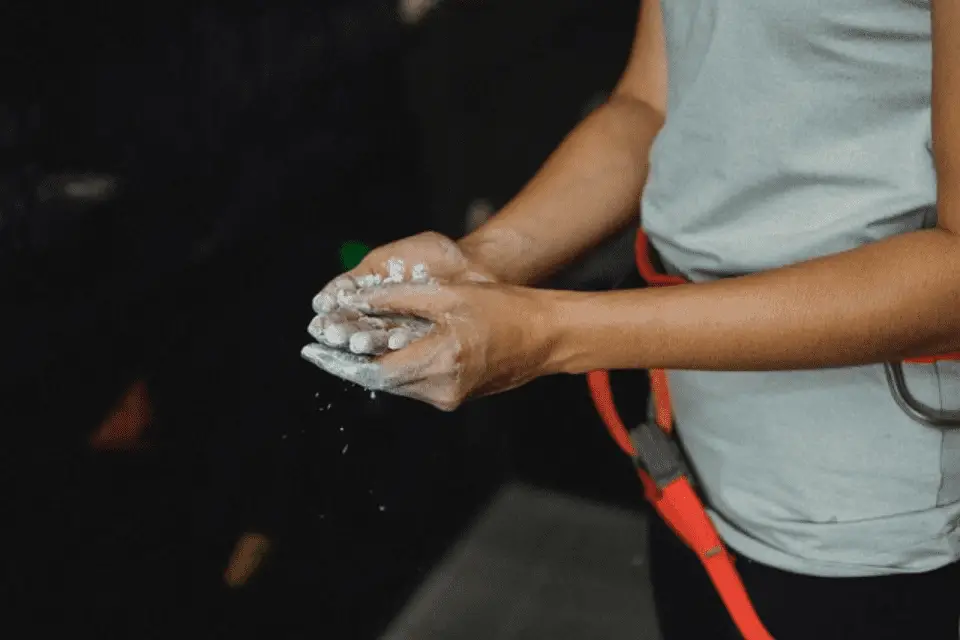
Take your newly made liquid chalk with you on your next climbing trip.
Simply squirt it on your hands and rub them together to give you the extra grip you need!
Frequently Asked Climbing Chalk Questions
Can You Use Baby Powder As Climbing Chalk?
Whilst baby powder looks very similar to climbing chalk, it is actually not suitable for use as climbing chalk.
The chalk that you use for climbing, as well as weight lifting and gymnastic, is designed to enhance your grip by drying out your hands.
Baby powder, on the other hand, is actually used for lubrication rather than drying out the skin. Also known as talcum powder or talc, using this for climbing would have the opposite effect to climbing chalk and will reduce your grip when climbing.
What Can I Use Instead Of Climbing Chalk?
Water!
You might think that this is a joke, but actually, it isn’t. One study by Birmingham University found that water actually helps to increase the amount of friction between a rock surface and your fingers, whereas chalk has the opposite effect by decreasing the amount of friction.
This might all sound a bit bizarre, but discussions online have agreed with this theory, with some people suggesting that for outdoor climbing, chalk might not be as necessary as you think.
In the same conversations, others suggest that this is probably only applicable to outdoor climbing as indoor climbing walls are more frequently used and therefore more likely to be slippery.
Can You Rock Climb Without Chalk?
For many climbers, chalk is considered an essential piece of climbing equipment, helping to improve grip when climbing. However, it is possible to climbing without using climbing chalk.
Just like most sports, there are some things that are essential, and some that are nice to have. For example, you can’t ride a bike without wheels, but you don’t need to have the thinnest, lightest tires in order to be able to ride on the roads or even race.
Climbing chalk is a nice to have that will enhance your enjoyment and ability when it comes to climbing, but it doesn’t mean that you can’t climb without it.
Summary
I hope that you have found this guide useful and now know just how easy it is to make your own liquid climbing chalk at home. Remember, climbing chalk isn’t absolutely essential when it comes to climbing, but it will enhance your experience, especially if you suffer from sweaty hands!
Happy climbing!